
Installation of Cloudera Manager and small CDH Cluster Lab in Google Cloud
As a preparation for the CCA Administration certification we need a workable cluster to do our practice tests.
I’m going to start showing you how to install a CDH cluster in the google cloud.
To start with, we need to proceed with the cloudera manager installation, which will guide us to the process of setting up our small cluster, to work as a test lab. The cluster will consist in 2 master nodes (we will enable hdfs HA and yarn HA) and 3 workers, as by default hdfs replication is 3 and we will stick to that. We will use one of the workers as a gateway too, to simplify the number of machines we use.
Apart of these 5 machines, we will have the cloudera manager in a separate machine, so in total, we will need 6 machines. The CPU and RAM required for each machine will vary too, but to make it easier, we will use only two types of instances. Let’s start with the cloudera manager first, in this post and in the following one we will set up the cluster.
Cloudera Manager Installation
Open your google cloud control panel, go to the compute engine section, VM Instances and click on create. A new tab will open with some default values that we need to edit.
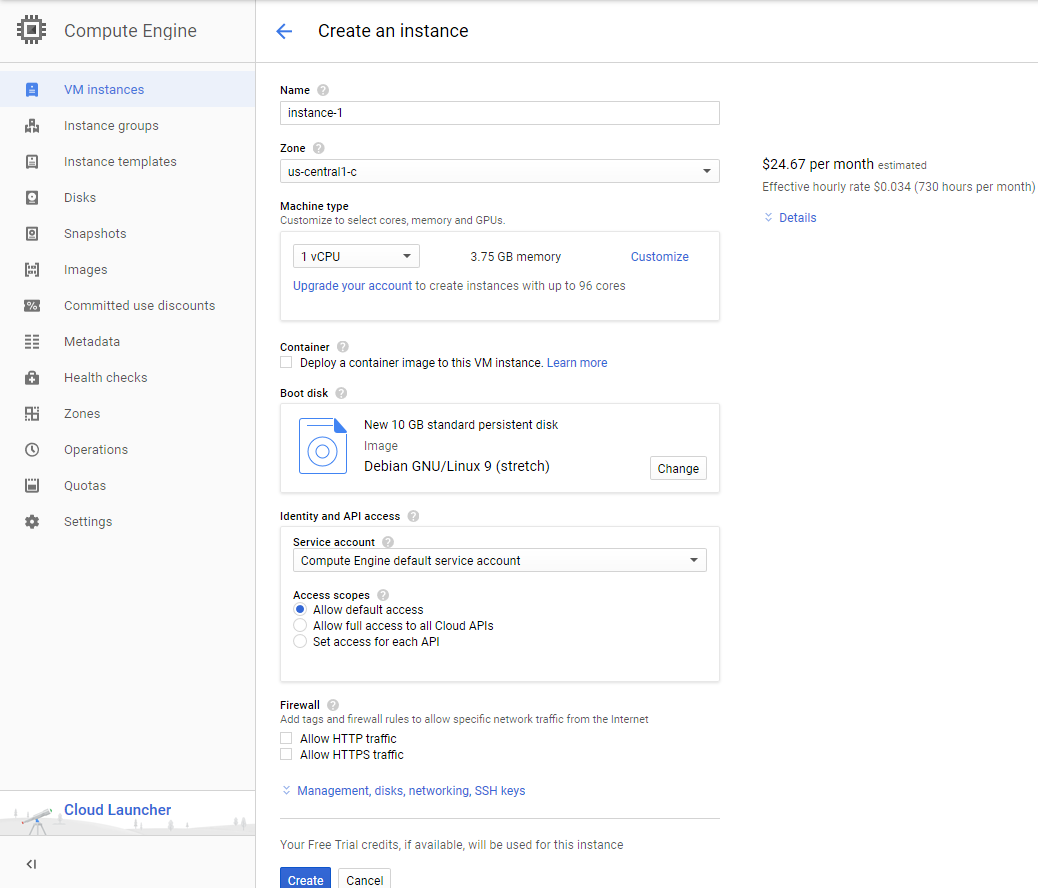
I will name the instance Cloudera Manager to simplify things. Choose the appropriate zone based in your geographic location, and as a machine type we will select the n1-highmem-2 which contains 2 virtual cpus and 13 GB of ram, as using the standard n1-standard-2 instance is risky as cloudera manager may not boot because it may not have enough RAM. It requires approximately 8 GB of ram, and having less, causes unexpected errors. SO we are going to play safe.

As a boot disk, we are going to change the default debian for a centos7. Since this will only host the cloudera manager installation,, the disk will only hold that and the OS Files. Just in case we will increase the standard 10 GB of disk to 20 GB to be on the safer side. Leave all the other options by default, even that later we will need to work on the Firewall, to open the cloudera manager port. Once finished, click on CREATE.
After a couple of seconds, we will have our instance created. It will show the private and public IP. As obvious, from the outside, we will need the Public IP to connect through SSH.
Before connecting through ssh, we need to generate a key pair. Follow the google cloud guide for this purpose here.
Once generated the keys, we can proceed to connect to our machine, we open our ssh client or the one integrated in google cloud (using the web browser) and we will be in:

Before installing cloudera manager, let’s do a few configuration tasks that we may require later. These are to disable selinux and update the system.
To disable selinux, simply do a sudo vi /etc/sysconfig/selinux and set selinux=disabled and rebot the machine.
then:
sudo yum update && sudo yum install wget
After installing wget, we can proceed to download the cloudera manager installer:
wget http://archive.cloudera.com/cm5/installer/latest/cloudera-manager-installer.bin
chmod u+x cloudera-manager-installer.bin
sudo ./cloudera-manager-installer.bin
And the installer will start. Then we only need to follow the wizard through the setup process
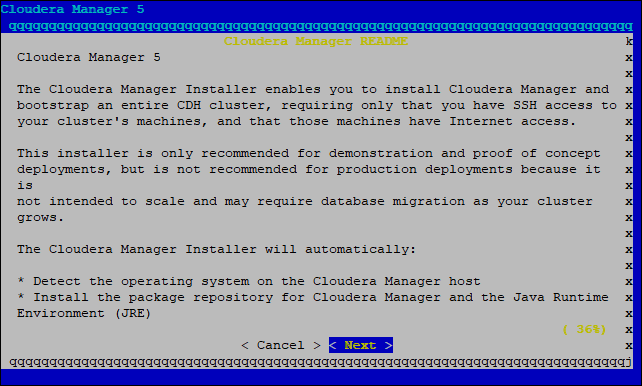
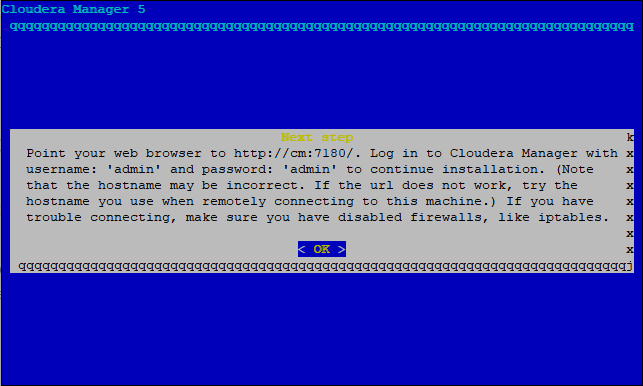
and the download of the java sdk and the cloudera manager will start. The last step, will show us the url of the cloudera manager but note that, first, the url is give using the machine name and with that url we wont be able to get to the server and second, we have to open the port in the firewall so it becomes accessible from the outside.
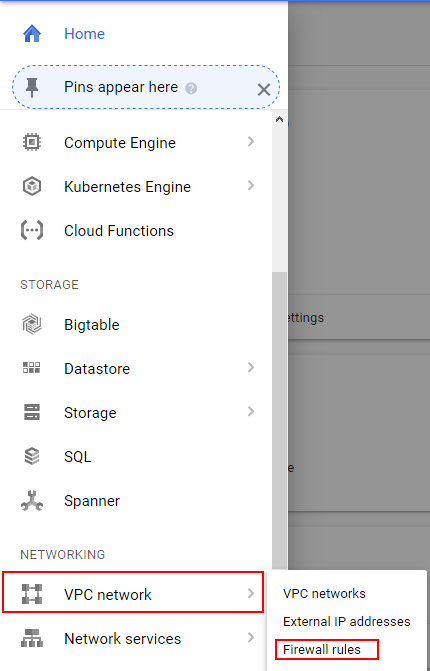
So, now, we wait for a couple of seconds and we go back to our google cloud dashboard, click on VPC Network > Firewall Rules, as seen on the image.
And now, click on create firewall rule, name it cm7180. In the targets select either your instance or all instances in the network (not recommended), and in source ip ranges input either your ip if you connect always from the same place or 0.0.0.0/0 or any other subnet provided by your ISP and on the protocols and ports, select “specified protocols and ports” and write tcp:7180
Of you will still have issues connecting, you can try to disable firewalld which may be blocking the access. At this point, you can either disable it completely, or configure it to give access to the port 7180.
After that, point your browser to http://<your public ip>:7180 and you should see the cloudera manager login screen. The username and password to log in are admin/admin and these should be changed ASAP.
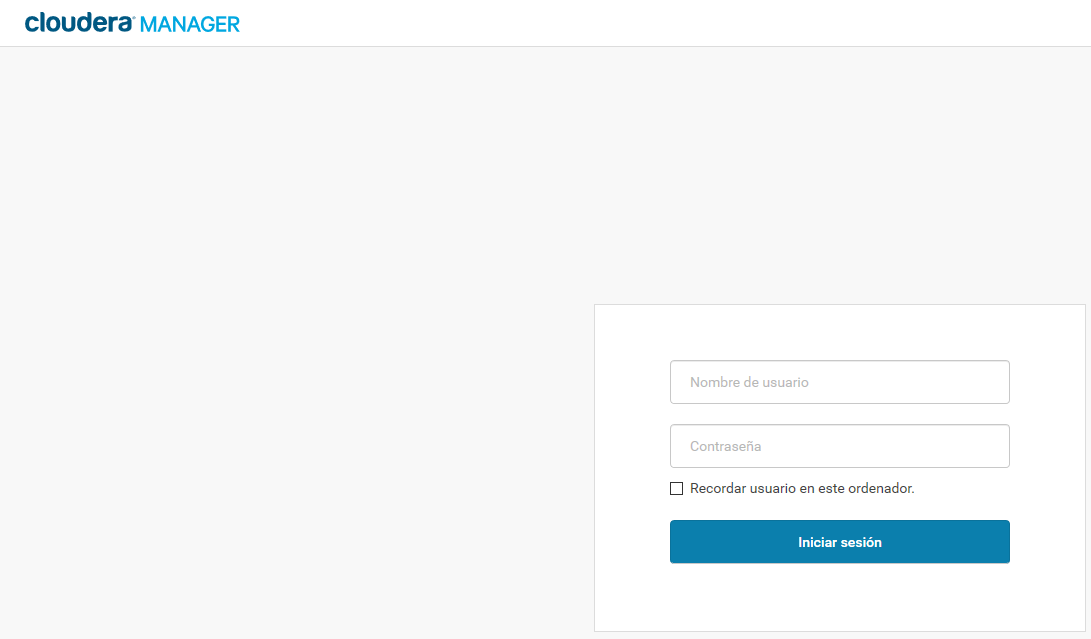
The screen shows it in spanish because cloudera manager inherits your browser locale configuration. When we login, we can finish the installation of cloudera manager, which basically consists in accepting the license terms, and choosing the license from: Cloudera Manager Express, Cloudera Enterpise 60 day trial or Cloudera Enterprise with license.
At this point we will use the 60 day trial, as we want to perform some tasks in the cluster that are not possible with the express version.
And here it finishes the installation of cloudera manager. In a next post we will cover the installation of CDH which is just the wizard that follows the license selection in cloudera manager.
Stay tuned for next chapter soon!