
There are many ways to implement some CI/CD with Databricks. We can use Azure DevOps, Github+Github Actions or any other combination of tools, including the dbx tool.
But an easy way to just copy notebooks between workspaces can be implemented easily with Azure DevOps.
We are going to use the git repos capability of Azure Databricks, so when a new code change is commited in a notebook an Azure DevOps pipeline will trigger the transport copy of the workbook from the first Databricks workspace (in our case a NonProd workspace) to the target one, again, in our case, the Prod workspace.
To achieve this we will use some more components from the Azure ecosystem, including the use of Keyvaults to keep all our secrets stored safely. The list of prerequisites is the following:
- Two Databricks workspaces, one our source workspace (NonProd) and another, our Production one.
- An Azure Keyvault (or two if we want to segregate the environments)
- Azure Databricks repository configured at least in our source workspace, so when the change is commited we can triger the pipeline that will fetch the notebook and transport it to the prod workspace
- Access to Azure DevOps (Something similar can be implemented with Github + Github Actions)
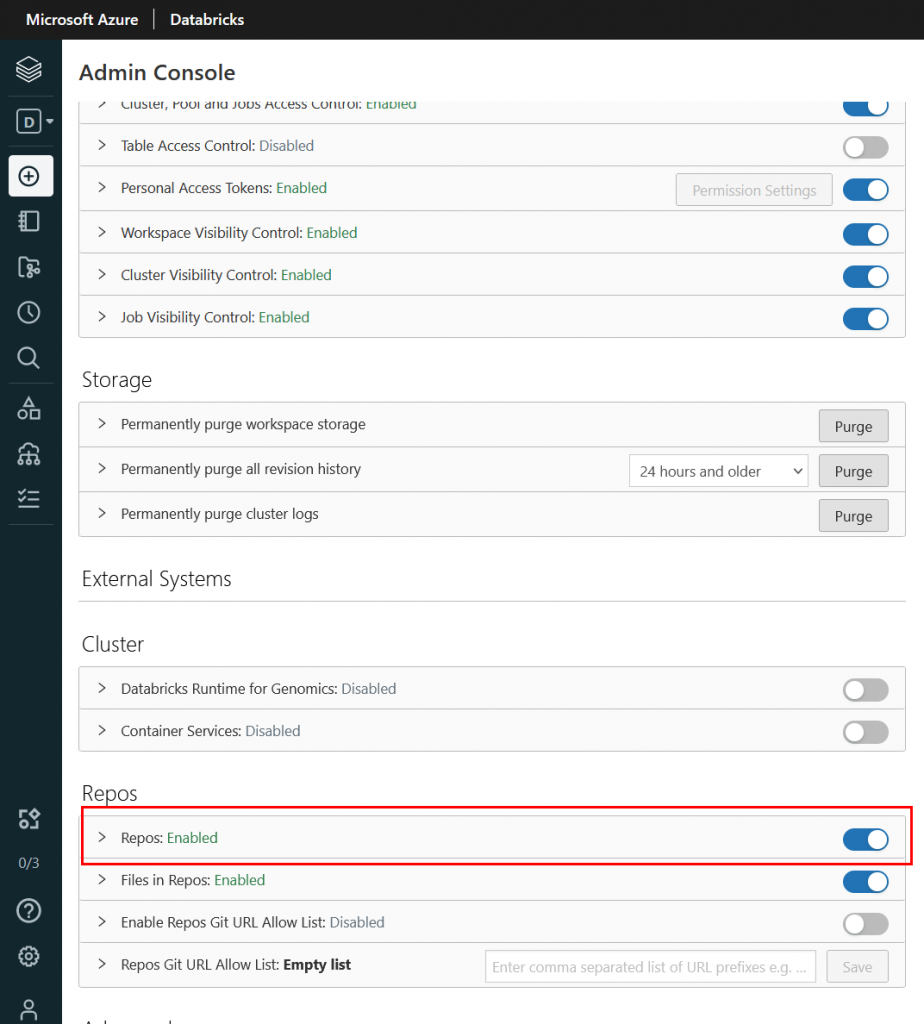
Lets see how to implement it. First we need to make sure git repos in enabled our source workspace. We can verify by login with an admin privileged user to our workspace and make sure the option is checked as follows:
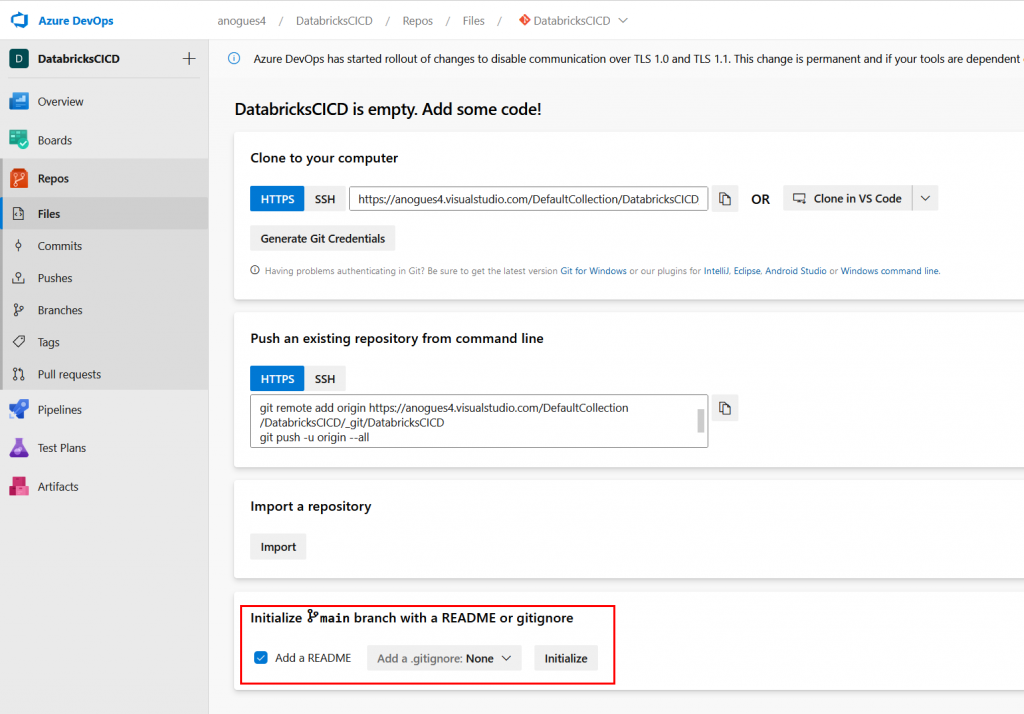
Secondly, we go to Azure DevOps services and we create a new project. I’ve called it DatabricksCICD but feel free to call it whatever you need:
Once created we take the details for cloning our repo and copying them. We go to our databricks workspace and then we look for the Repos option on the left, and add a new repository. We need to paste the url to clone our newle Azure DevOps created repository:

Once we linked our Databricks workspace with our DevOps repo, now we can create a new notebook. In the same Repos section, click on the down arrow to create a new notebook, as shown below:

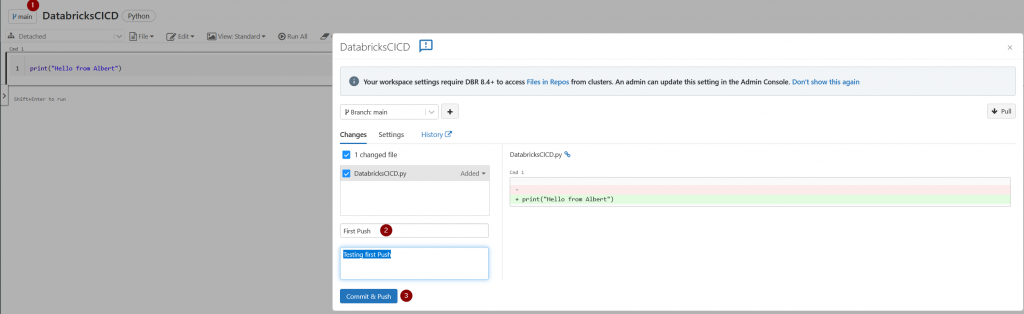
The content of the notebook, you can put anything you want. I’m writing a print(“Hello from Albert”) statement. We will not run it, we just want to show it’s possible to transport it. Once done, click on the save now in the revision tab:

Then click on the left in the main branch button, from there we will be commiting the changes to our repository:
If we go back now to our Azure DevOps project we should see the file has been commited to the repository. This ends the first part of this tutorial.
In the second blog entry we will see how to trigger the pipeline after a modification of this notebook and passing the credentials of the second workspace to be able to deliver the changed notebook to our Production (target) workspace.